How to Update Public Notices and News Sections
Step 1 - Adding Post
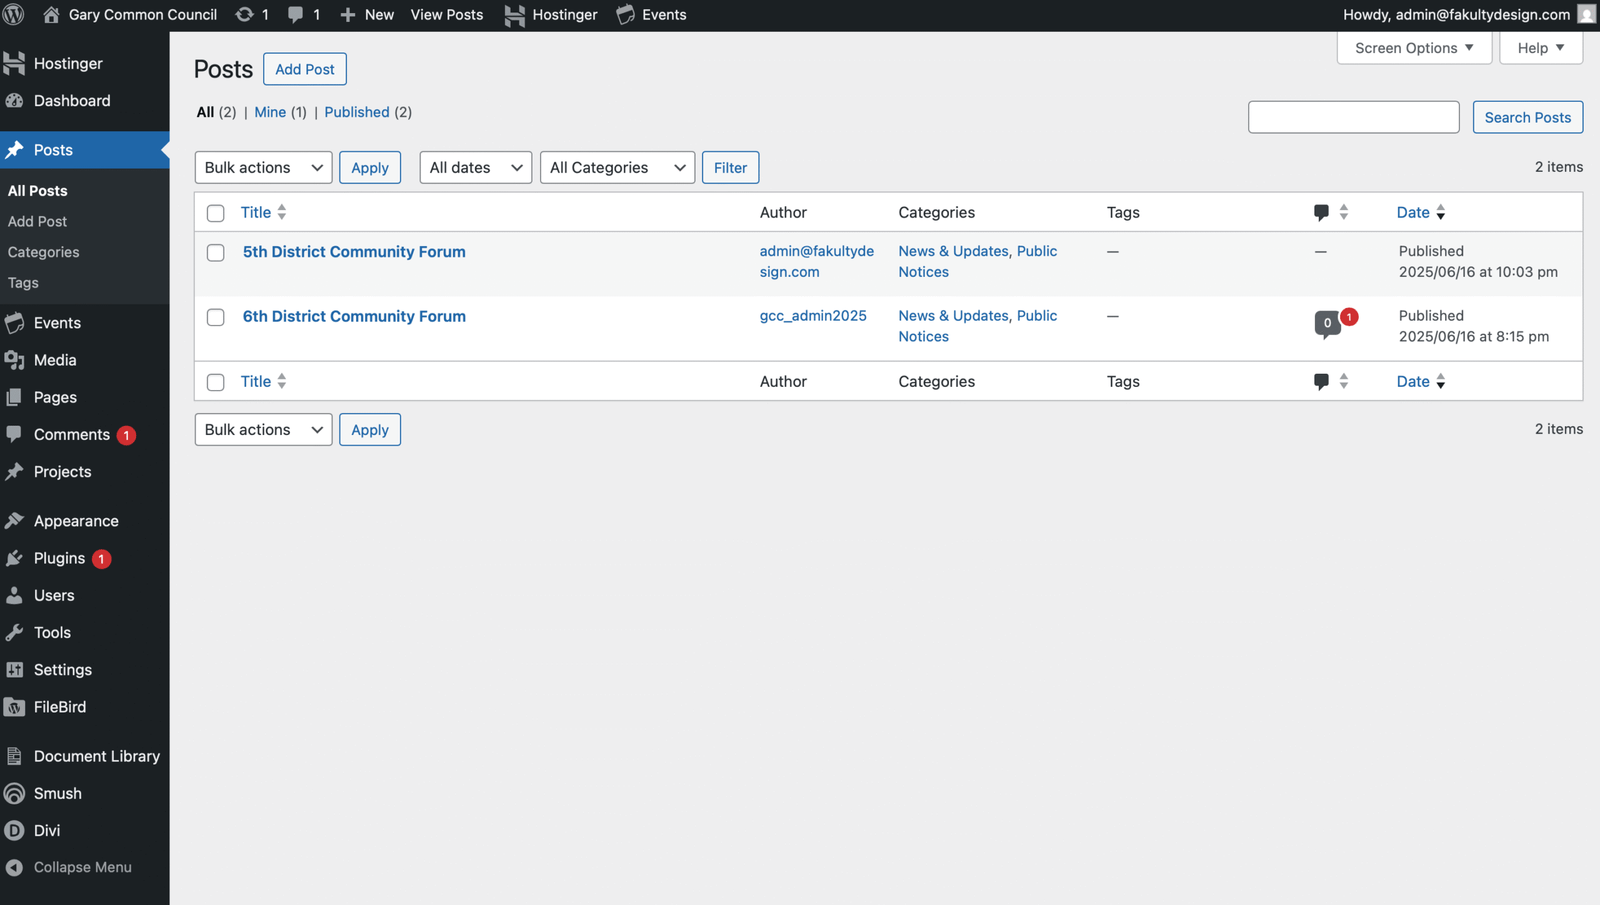
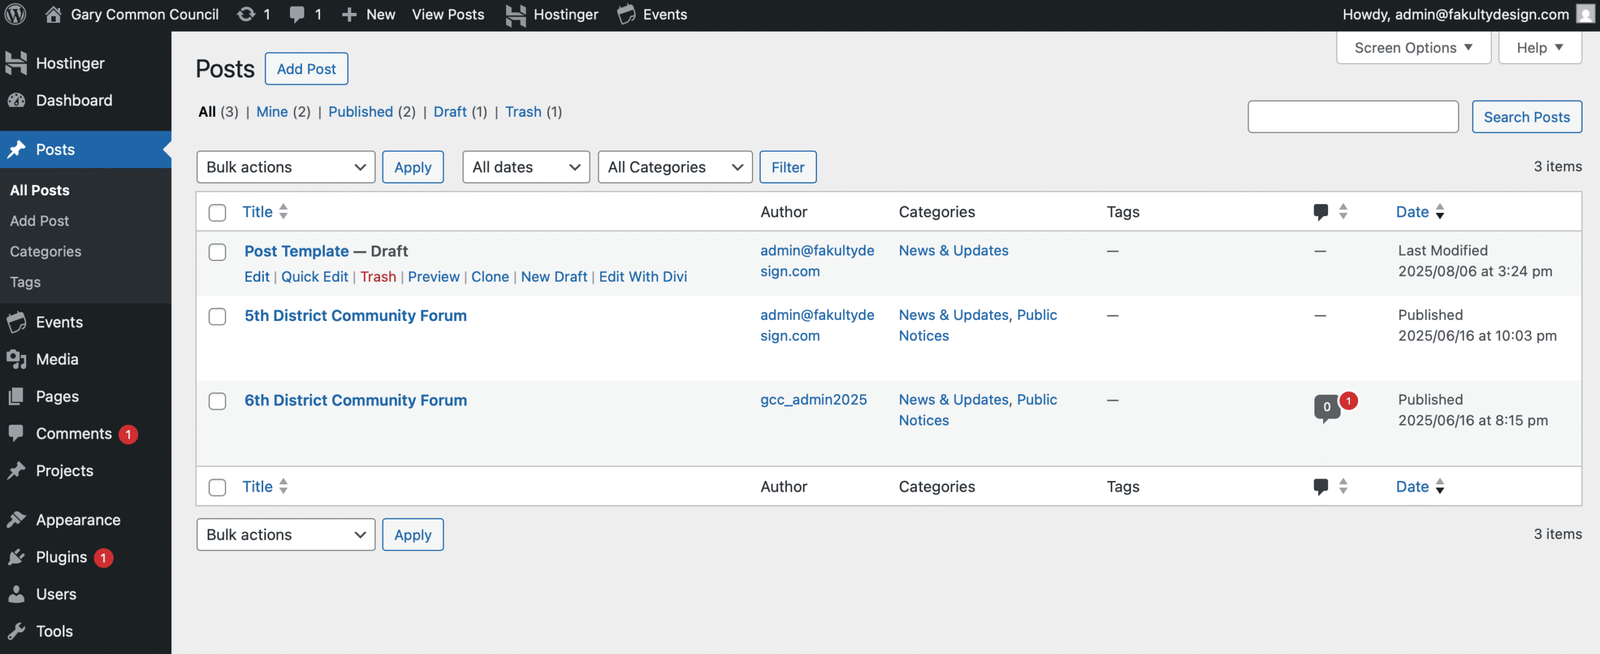
Once you log into WordPress you will see the following screen.
On the left side there is a black toolbar. Click the “POSTS” tab (shown in the blue highlight in the picture).
From this tab you can create, delete, copy or edit a “POST”
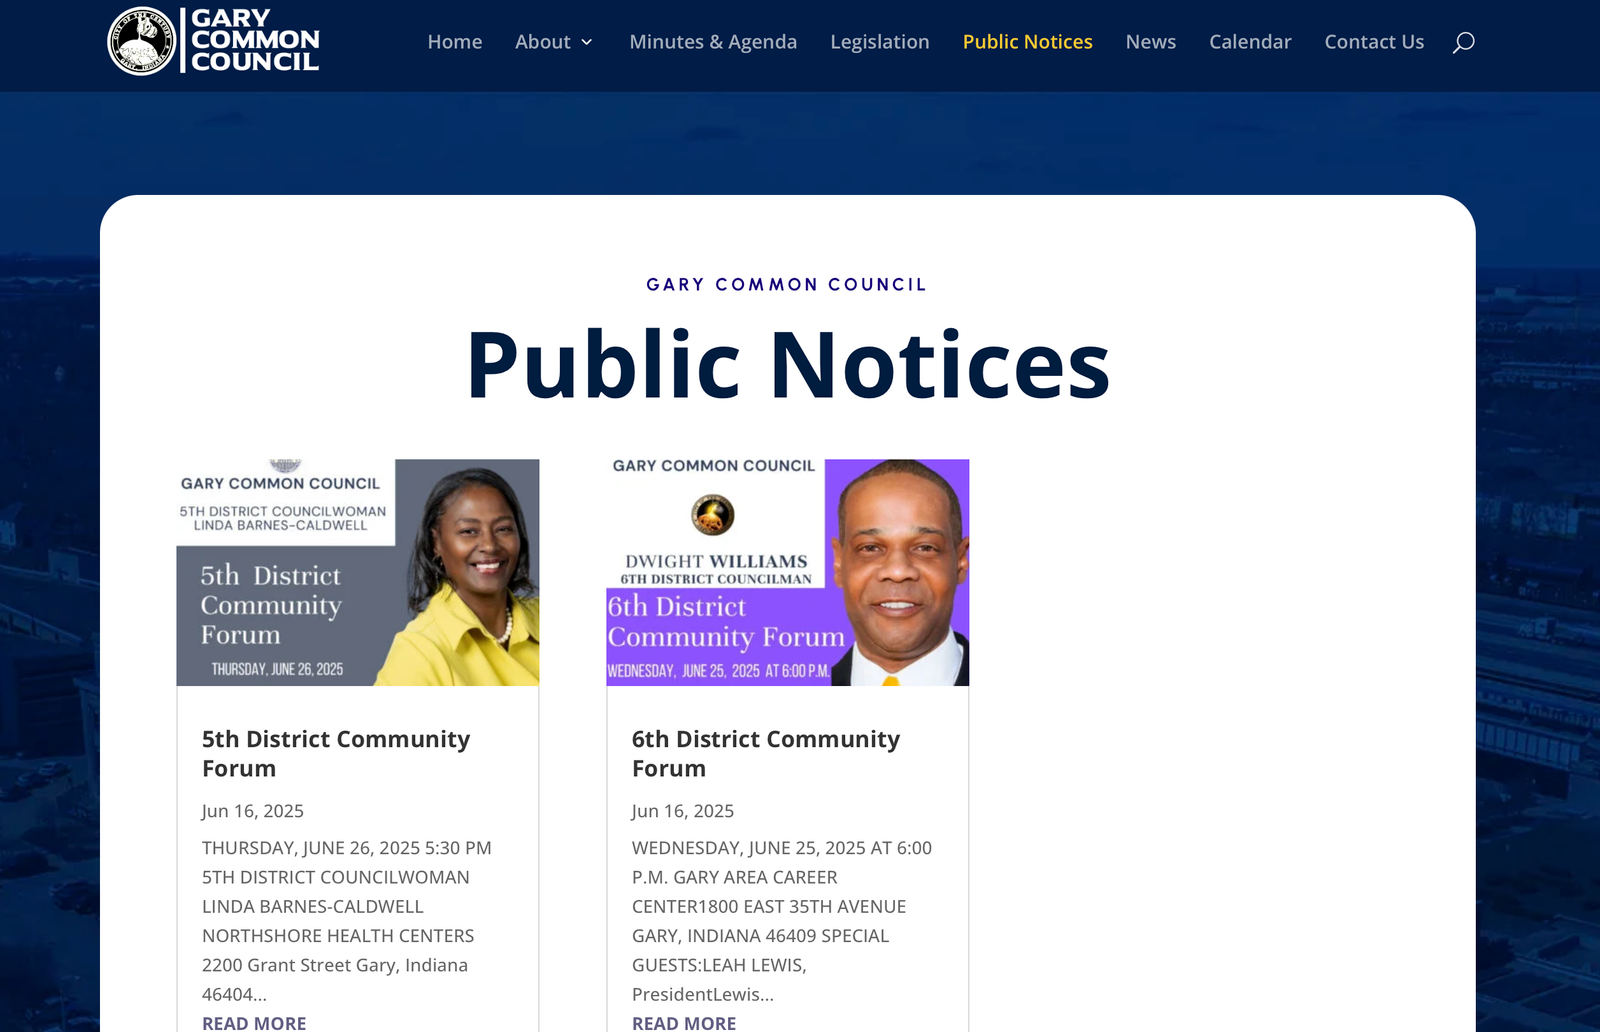
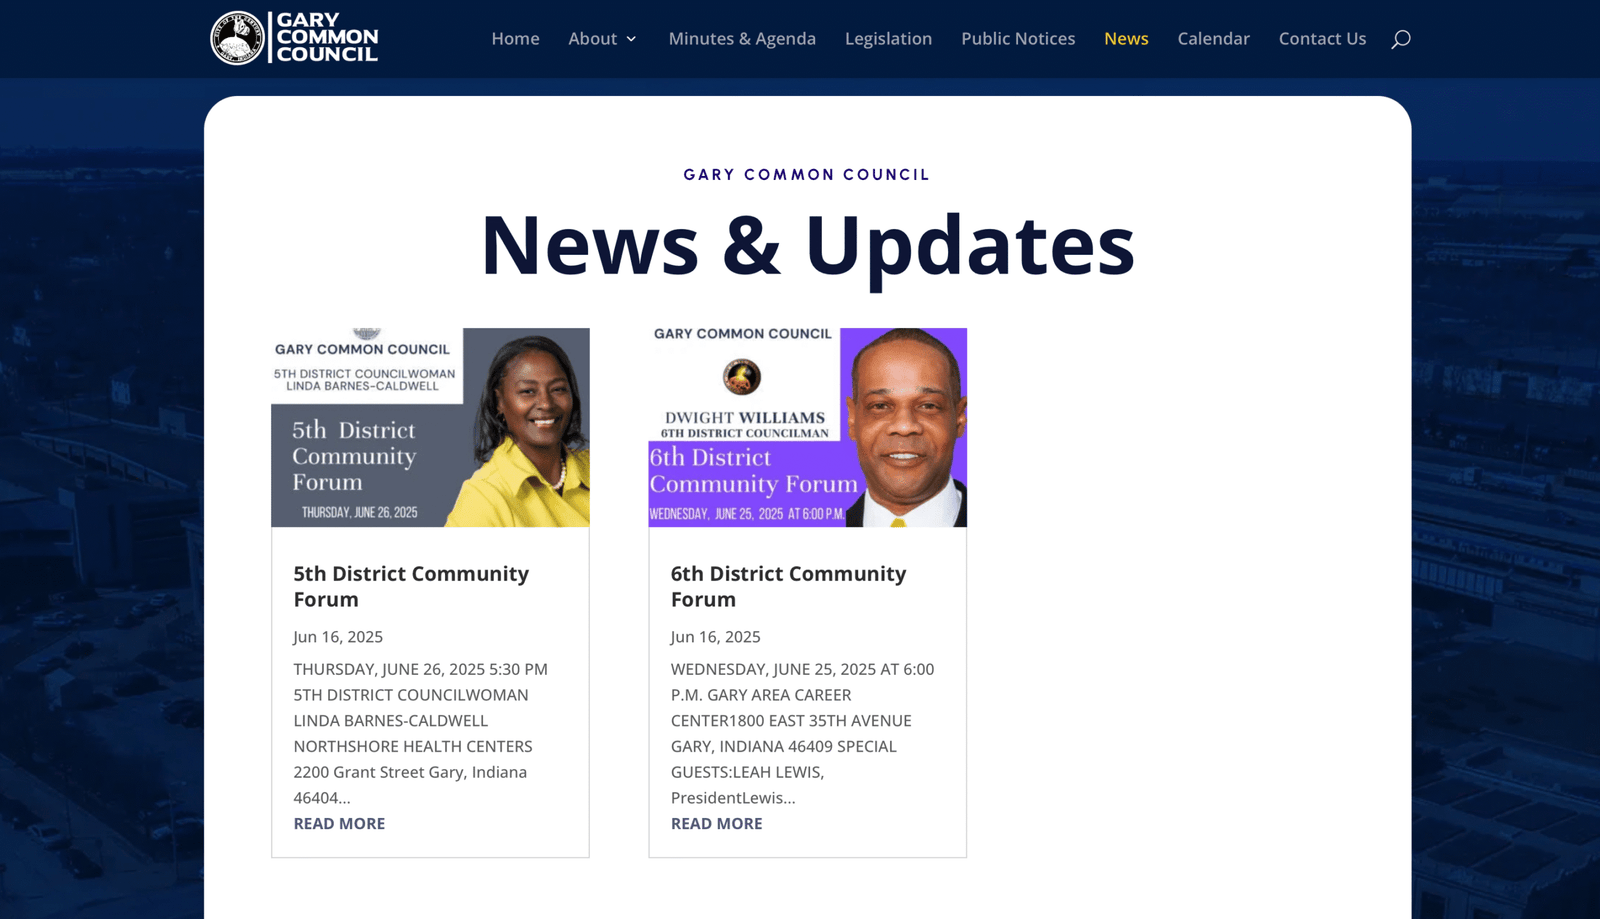
Each “POST” can be set for Public Notices or the News Sections of the website based on what option you choose.
To Start a New “POST” click the “ADD POST” button at the top next to the “POSTS” title.
Cloning the Post Template
There is also a template “POST” that can be used called Post Template.
To Copy a “POST” Hover the mouse over the Title. A small menu will appear under the title. See picture.
Click the “Clone” button
A copy will open and you can proceed to make edits as you see fit. Skip over the next step if you are simply cloning the template.
To Start a New “POST” click the “ADD POST” button at the top next to the “POSTS” title.
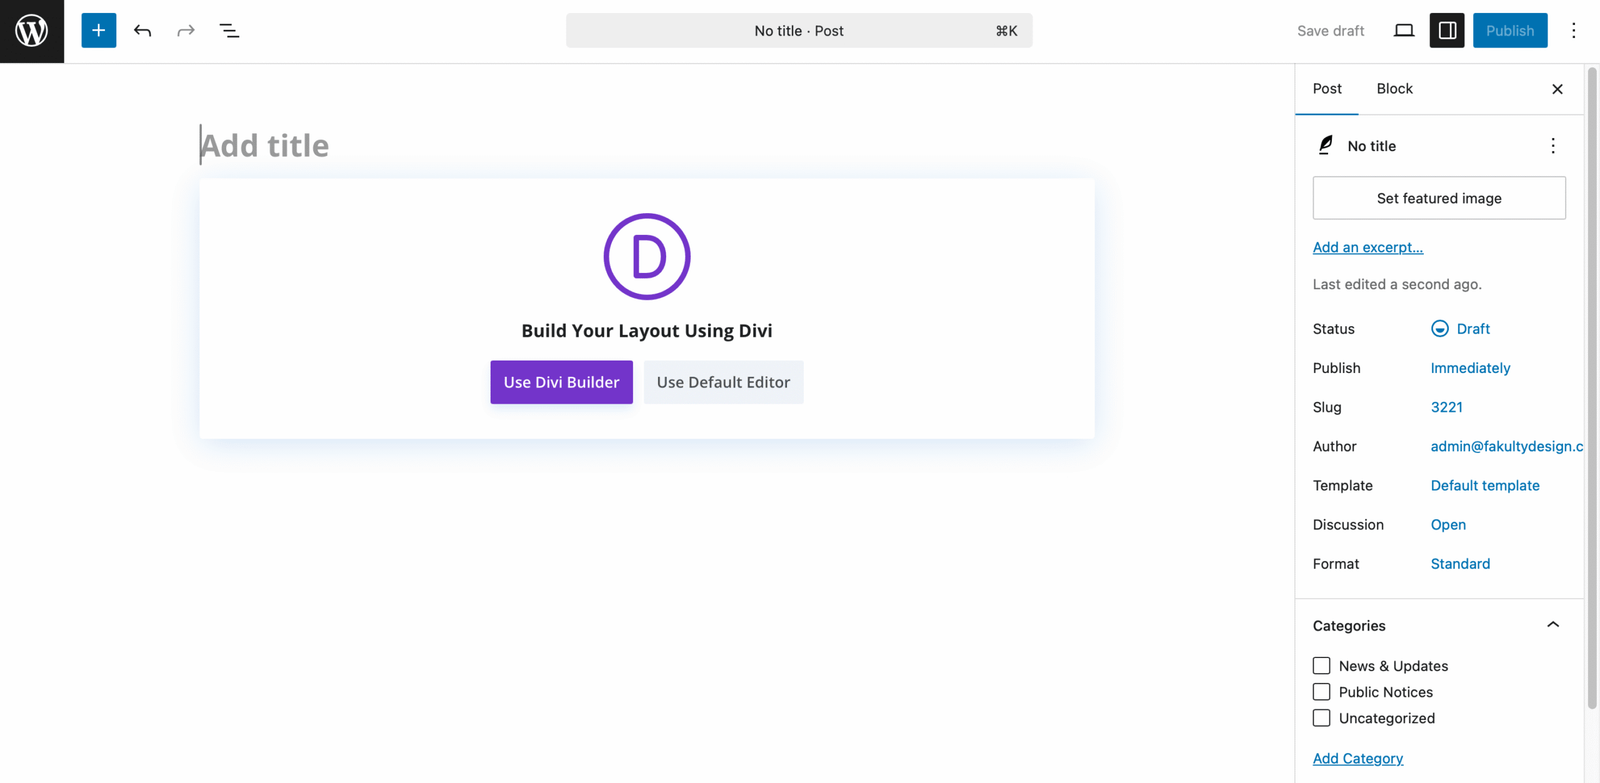
Once you choose “ADD POST” you will see this screen shown in the picture. Click “Use Default Editor” to open the editor and begin making changes to your post.
Step 2 - Editing the Post
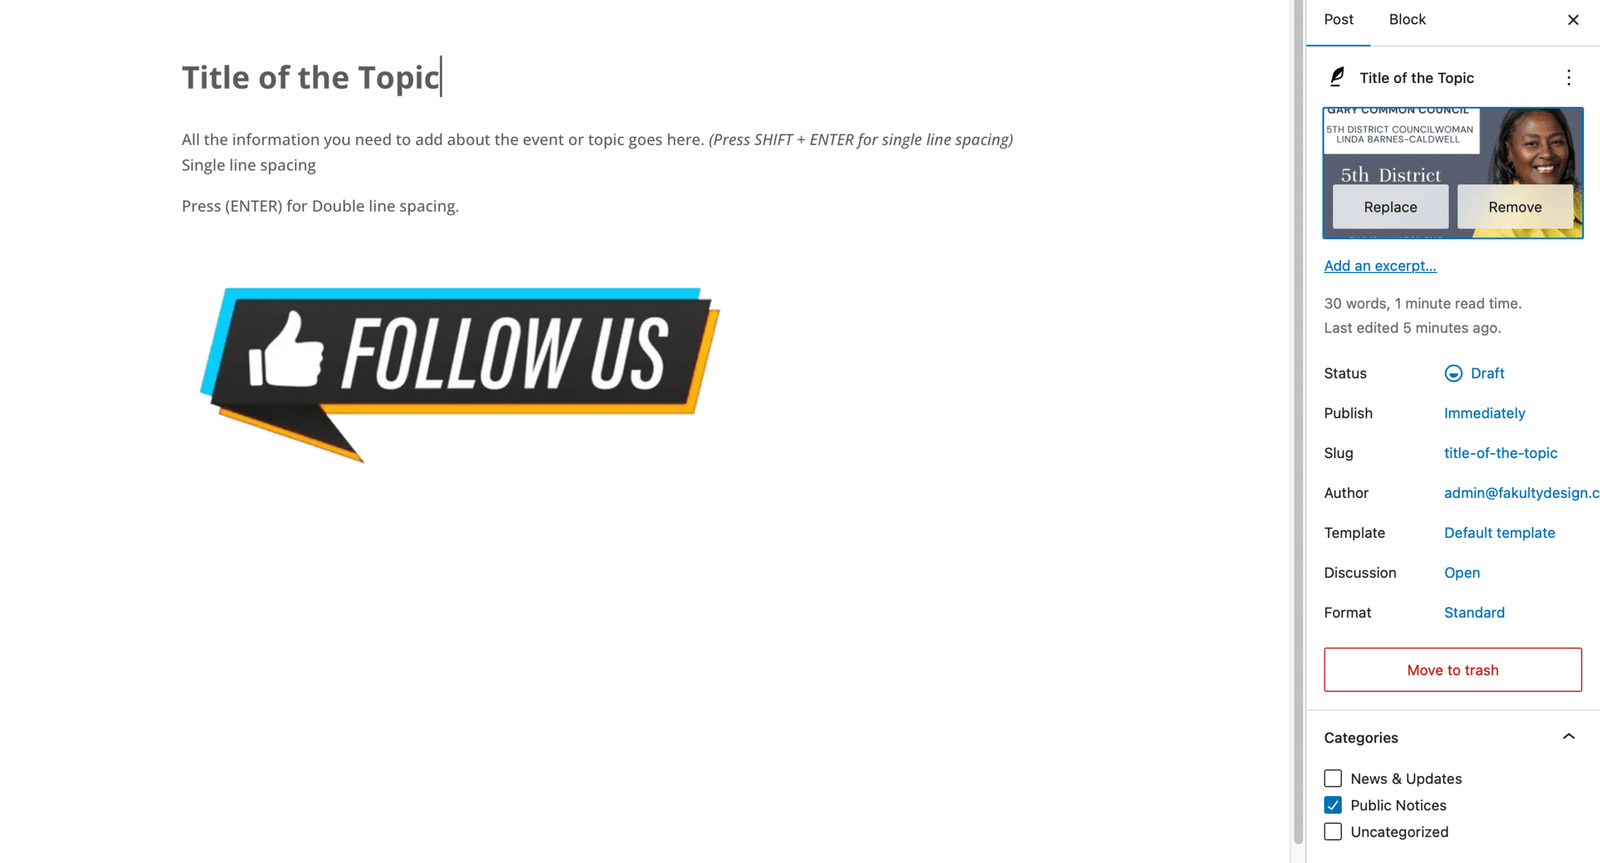
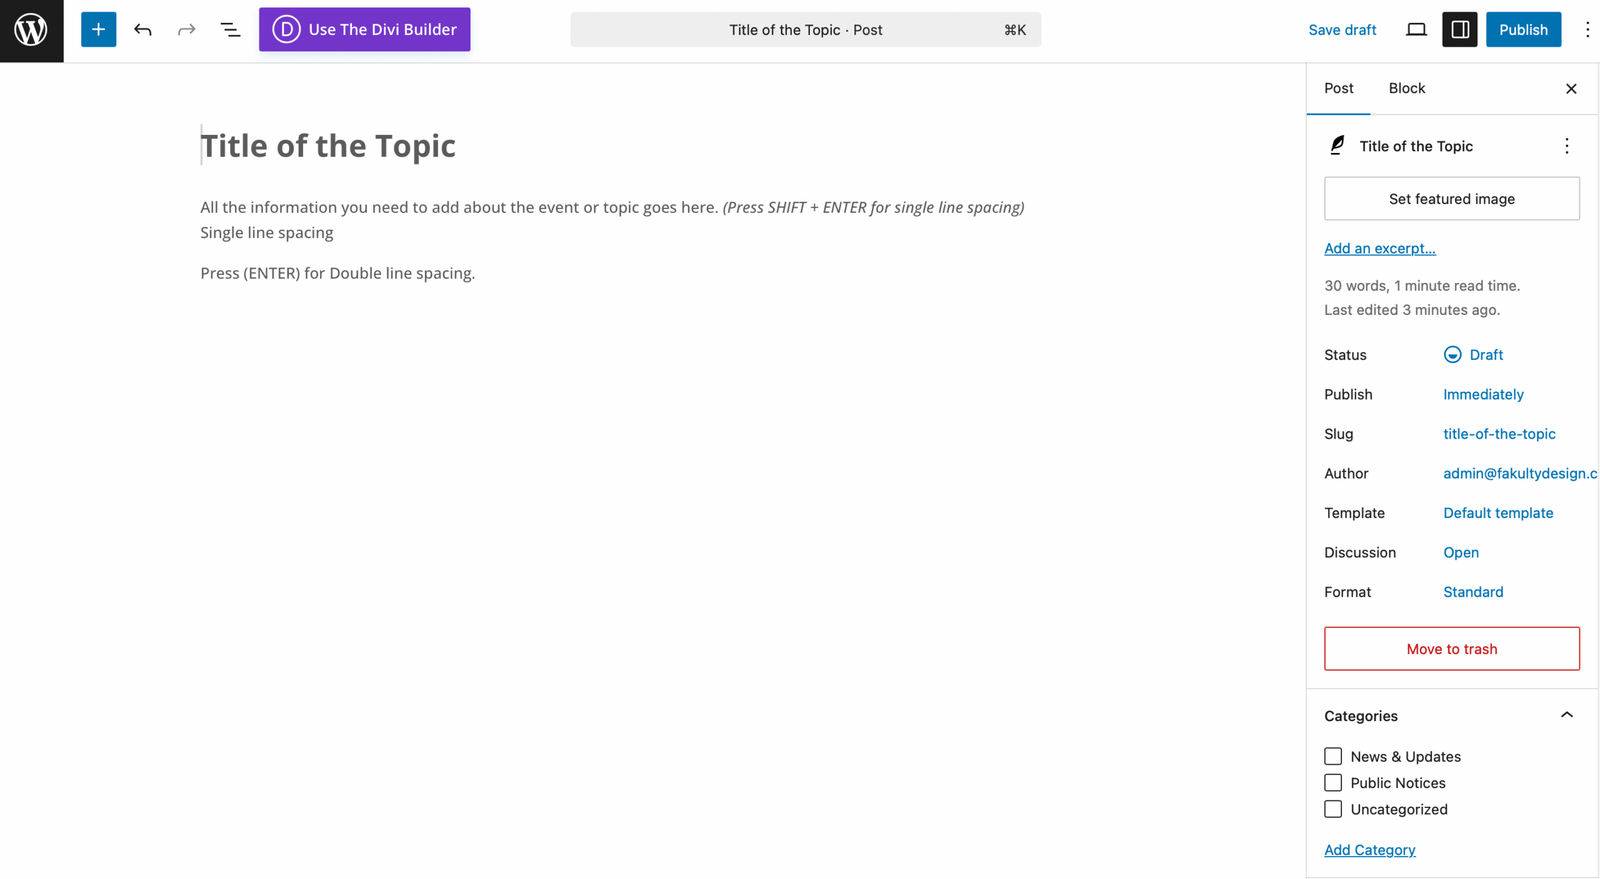
Once your Post editor opens you can now add your Title, Description or Info and any images or other media you want.
To add images, videos or other, hover the mouse over the Blue box with the plus sign in the top left corner. Once you click the box it will open with a few options, see the picture.
Step 3 - Adding Media to Your Post
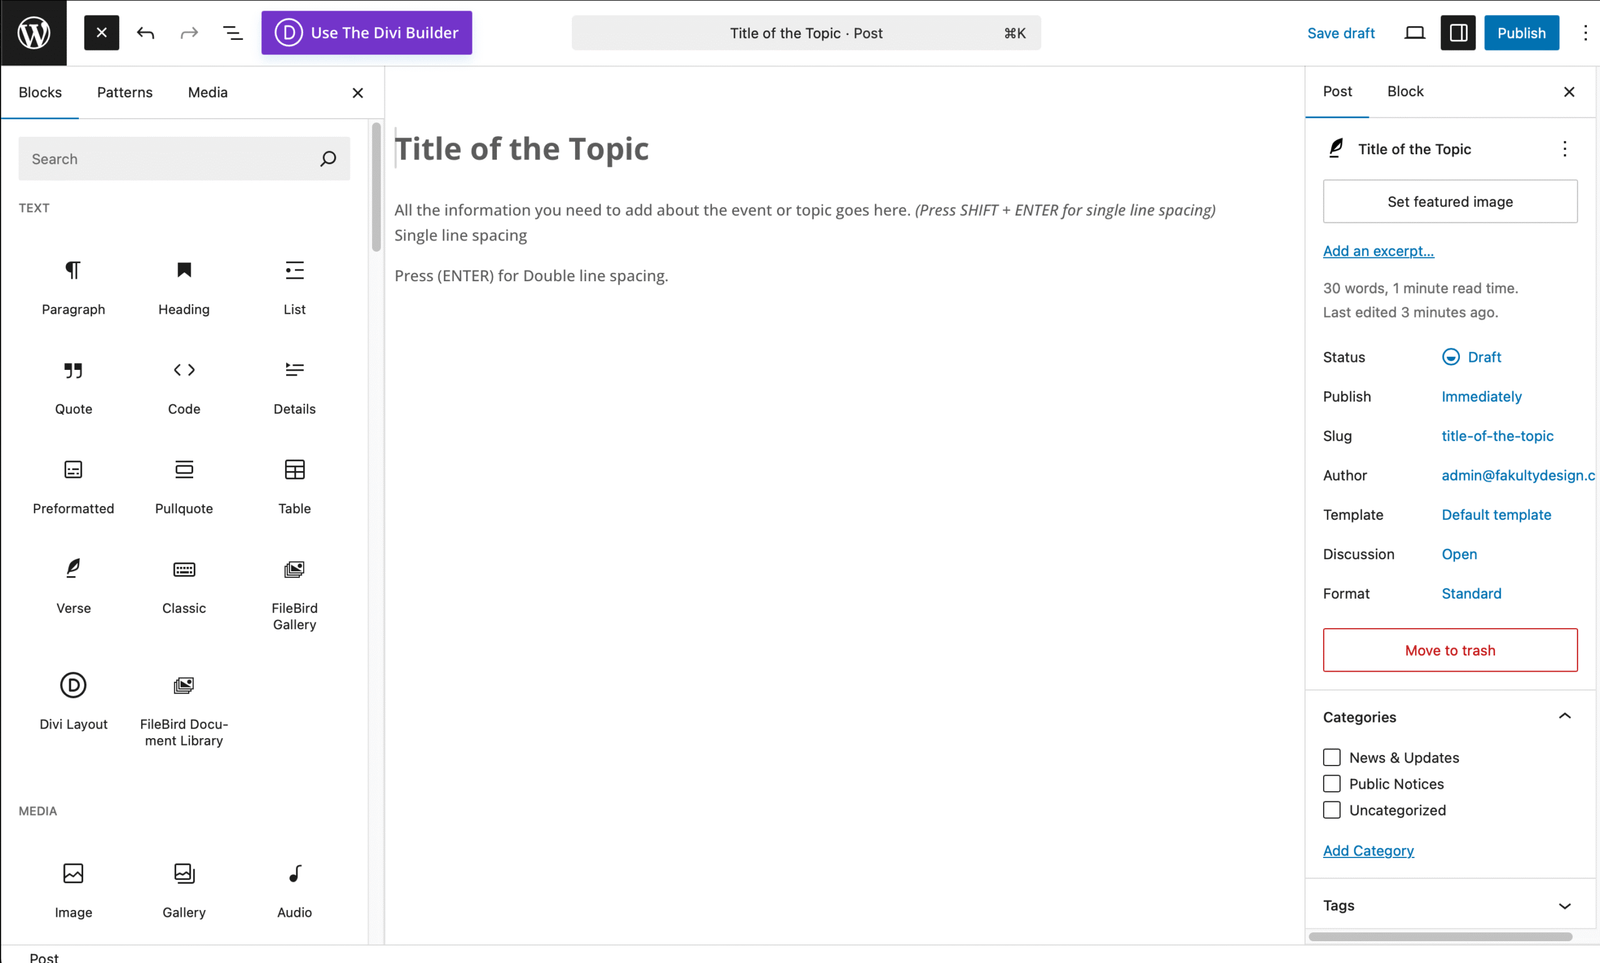
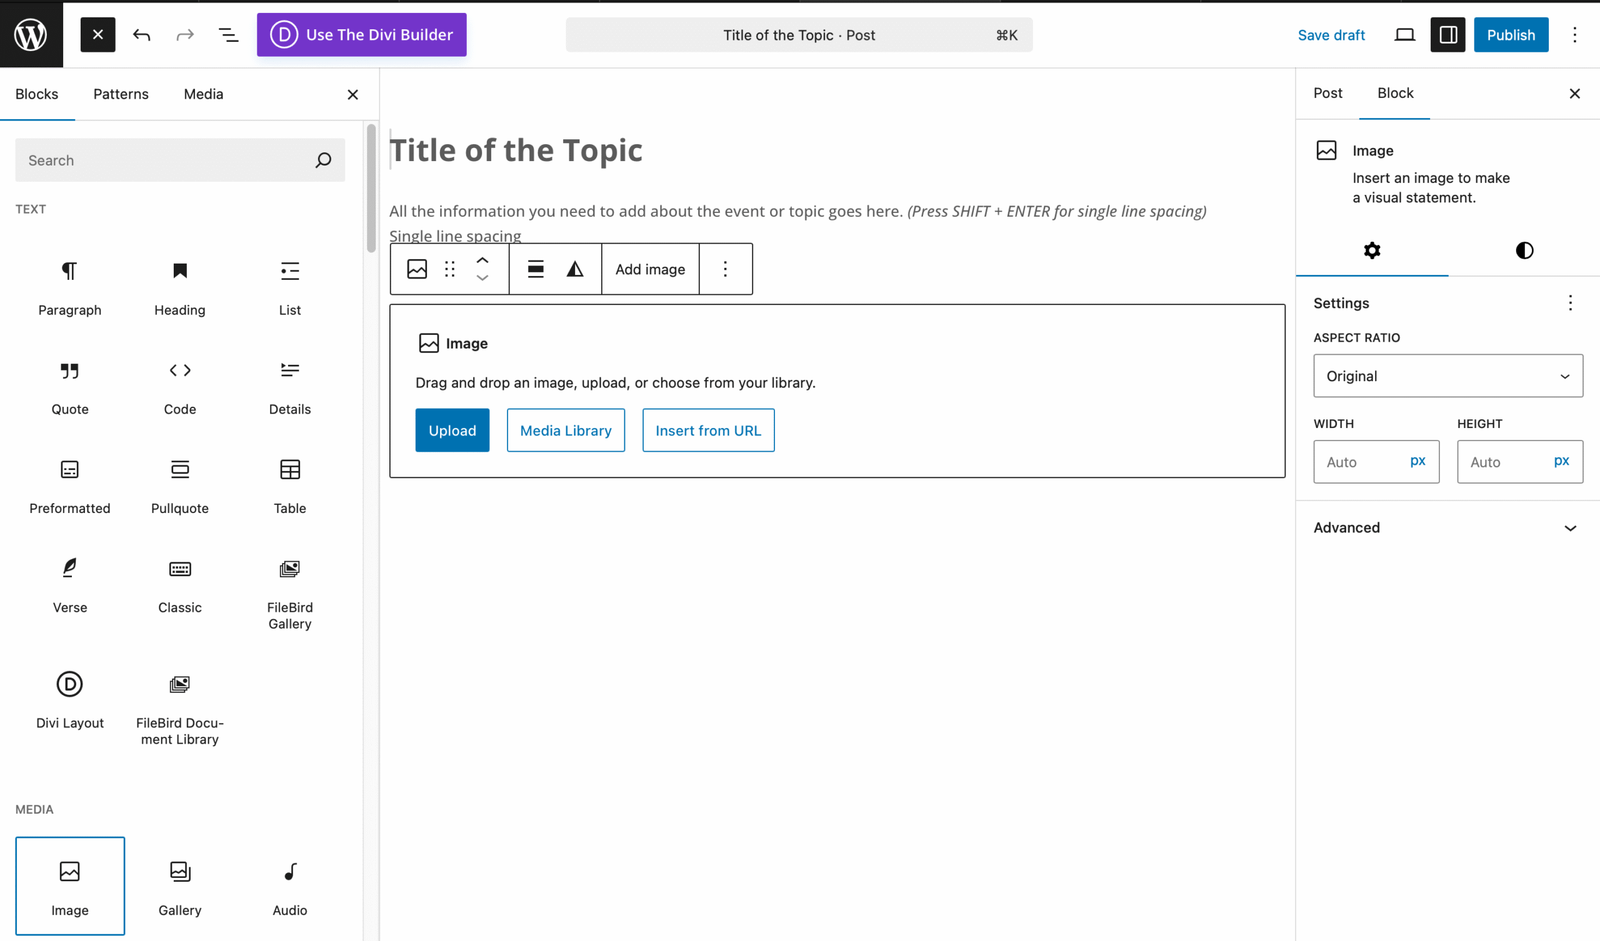
Once the Blue box is clicked the menu on the left will open and show blocks that can be added to your post.
You can drag and drop a feature into your post. The image shows how to drag an image into your post. Once you drag the block into the post editor, you will see a menu that gives options.
You can upload an image from your computer, select an image from the media library or insert an image from the internet using a URL.
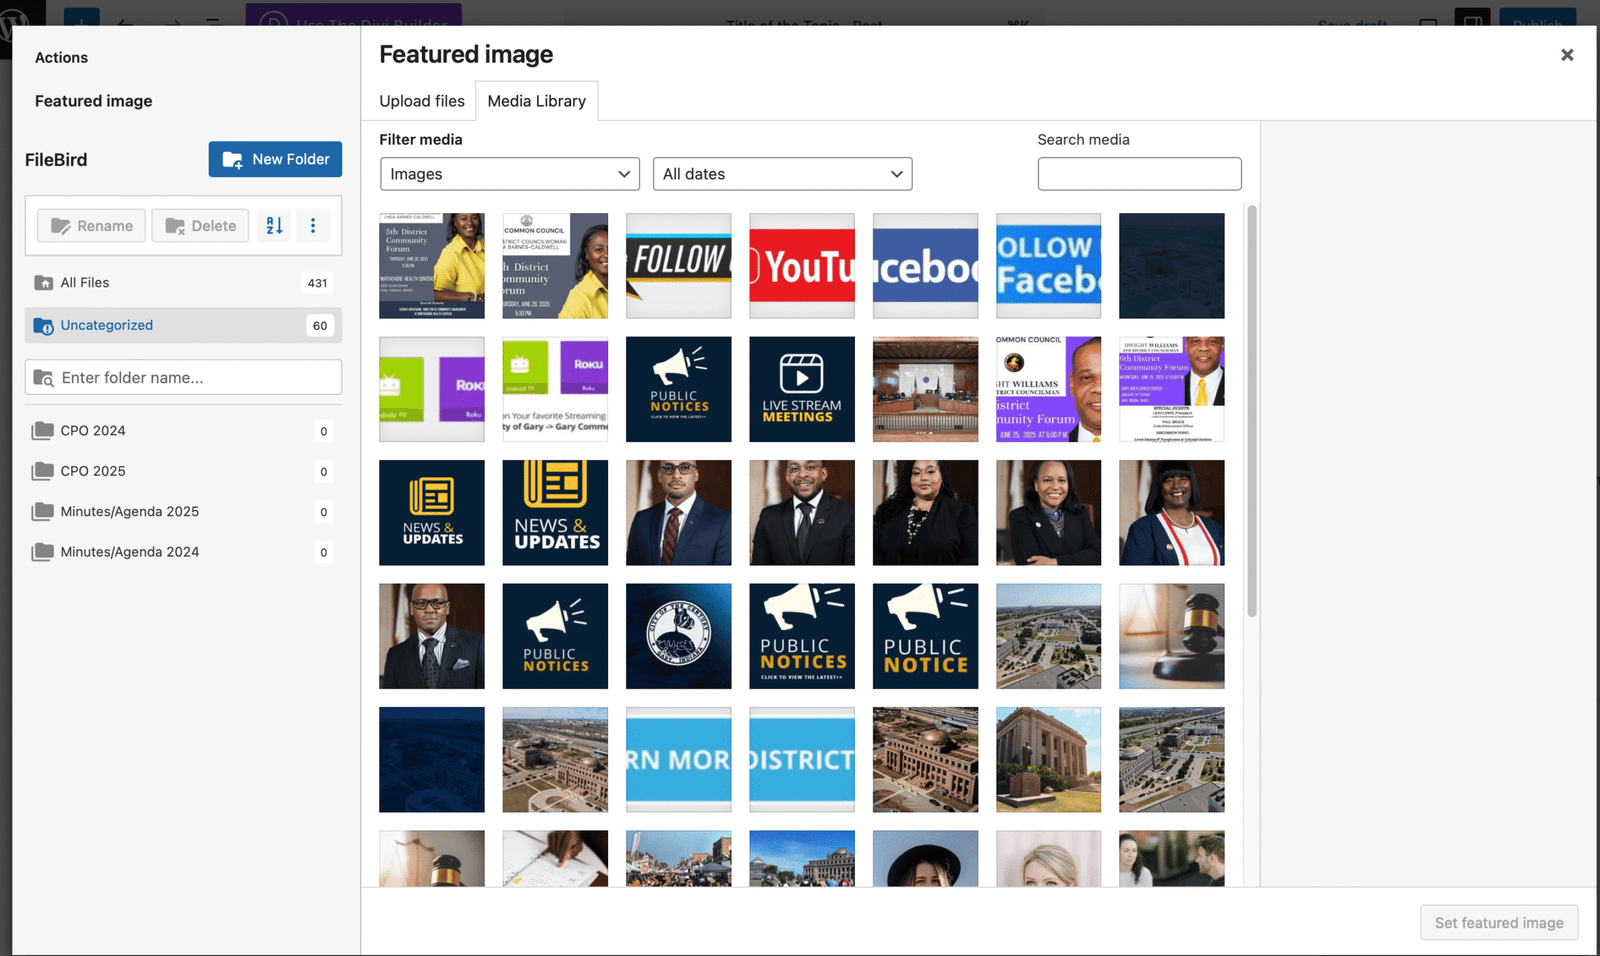
Media Library Menu
If you choose to select an image from the library, another window will open showing all the images that are in the library. You can always cancel, choose to upload from a computer by switching tabs or change folders.
Editing Post Continued
Once you choose your image it will be inserted into your post. Double clicking on the image will allow you to change the image.
You can also insert lists, quotes, tables, headings, image galleries or other.
Step 4 - Finalizing Your Post
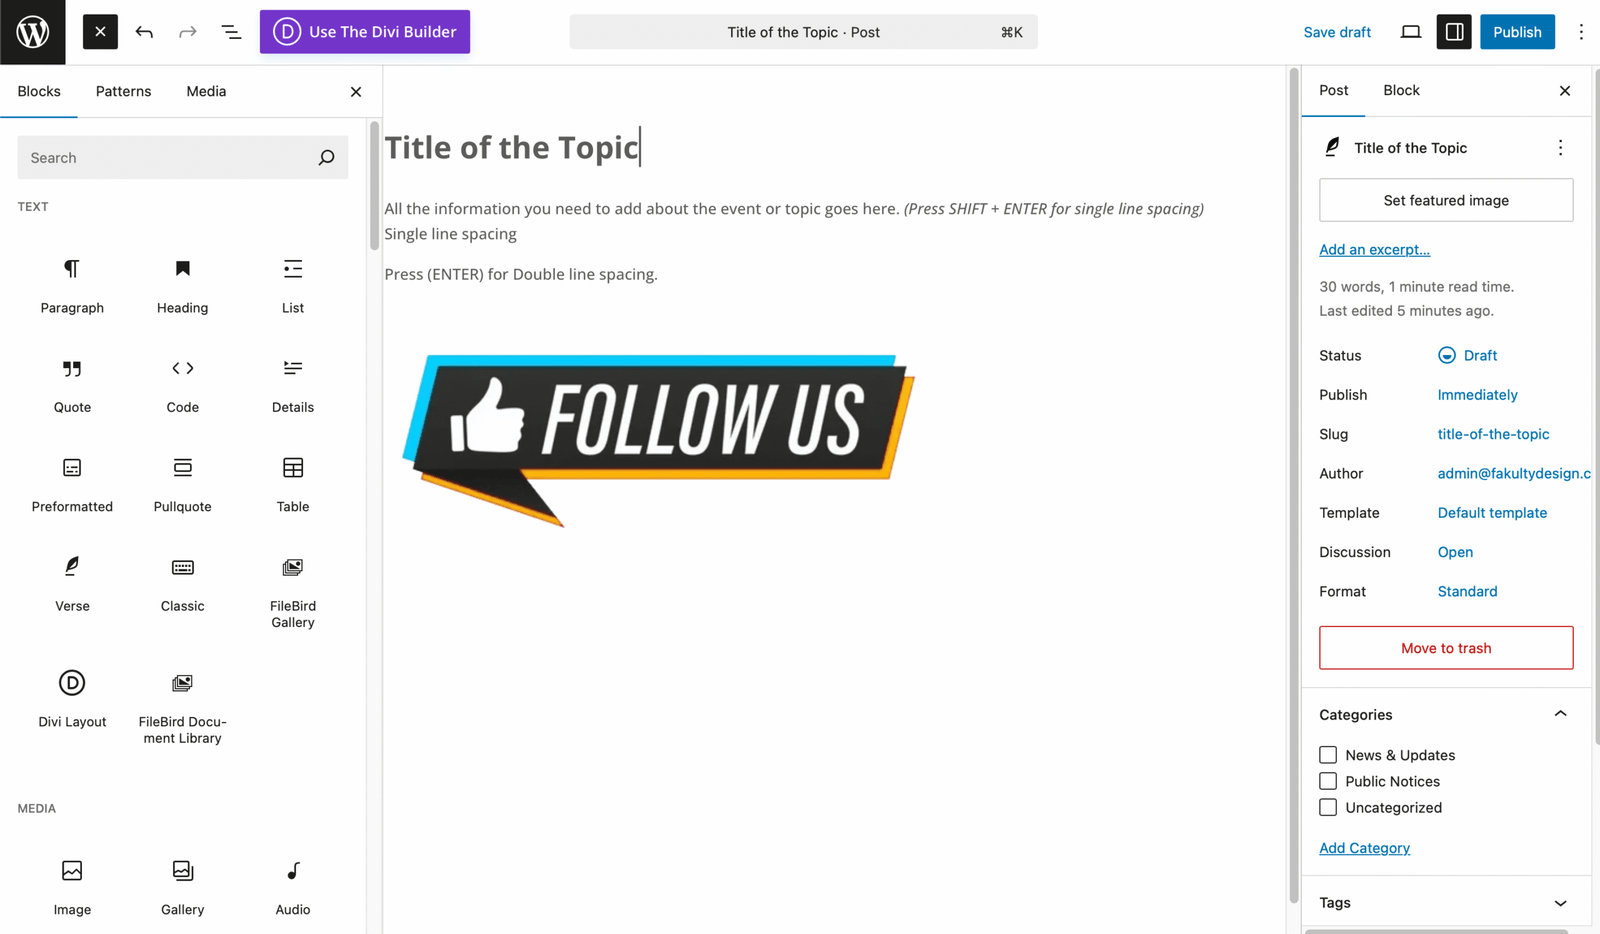
Once you have added all the blocks and features you want, close the window by choosing the small “x” in at the top.
Now it’s time to set the “Featured Image” on the right toolbar. This image should be horizontal sized no bigger than 1920w x 1080h
Lastly, in oder to set you post to the “PUBLIC NOTCES PAGE” in the same toolbar, on the bottom you will see a set of check boxes. Choose what pages you want this post to appear. You can choose “PUBLIC NOTCES PAGE” or “NEWS & UPDATES PAGE” or both.
If you have issues or questions feel free to reach out.